I guess when talking about recipes, it’s a bit of a faux pas to talk about ingredients which are not in season. It probably conveys some sort of ignorance about your ingredients, and for those of us with access to fresh, locally sourced, seasonal ingredients, finding recipes using out of season products is probably a bit of an inconvenience.
This is one of the interesting differences between living in the city, and living in slightly more rural areas though and it’s an interesting difference that Mike and I talk about. Kale is usually a winter crop, especially since it tastes better after being touched by frost. In the city though, it is available year round at various stores, even the organic ones so cravings such as this one can be satisfied at any time even as we edge into the summer.
Summer is a time for fun picnics, nail biting tv shows with nerve wracking cliff hangers, and tournaments to watch. Along with these, come snacks! I have a vice for potato chips especially when indulging in entertainment and to the extent that I used to purchase these by the case (Kettle Foods Jalapeno Potato Chips, 1.5 Ounce — 24 per case) I started thinking to myself maybe I could cut back on the carbs and try to be a little healthier.

Enter kale chips! (and thank goodness you can get them year round in the city). Fresh, kale has a sort of tough leaf and inedibly hearty stem. When you bake them though, they become a light, healthy, deliciously delicate and flavorful snack. Now, you could buy them in the store, but why when you can make a batch 3x as large for 1/10th the price??
When you’re getting ready to make these chips, there are two decisions you have to make:
- The first decision, is what type of kale to use. Yes, there are different types, and you can use this article for reference: Spotlight on Kale.
- The second decision you have to make is what type of oil you want to use. For this, you can check out this article: Basics of Cooking with Oil
If you want to cut to the chase, the two I like to use respectively, are: Tuscan Kale, and Light canola oil.
The Kale
I like to use Tuscan kale because there is less prep work because you don’t have to remove the leaf from the stem, it looks nice (presents well as is), is easy to work with, and holds its shape pretty well without having to be torn into more manageable bite-sized pieces. Curly leaf kale is my next favorite because it wrinkles up which gives it an extra crunchy texture and fills your mouth with flavor.
To prepare the regular flat leaf or curly kale:
- Remove the leafs from the stem
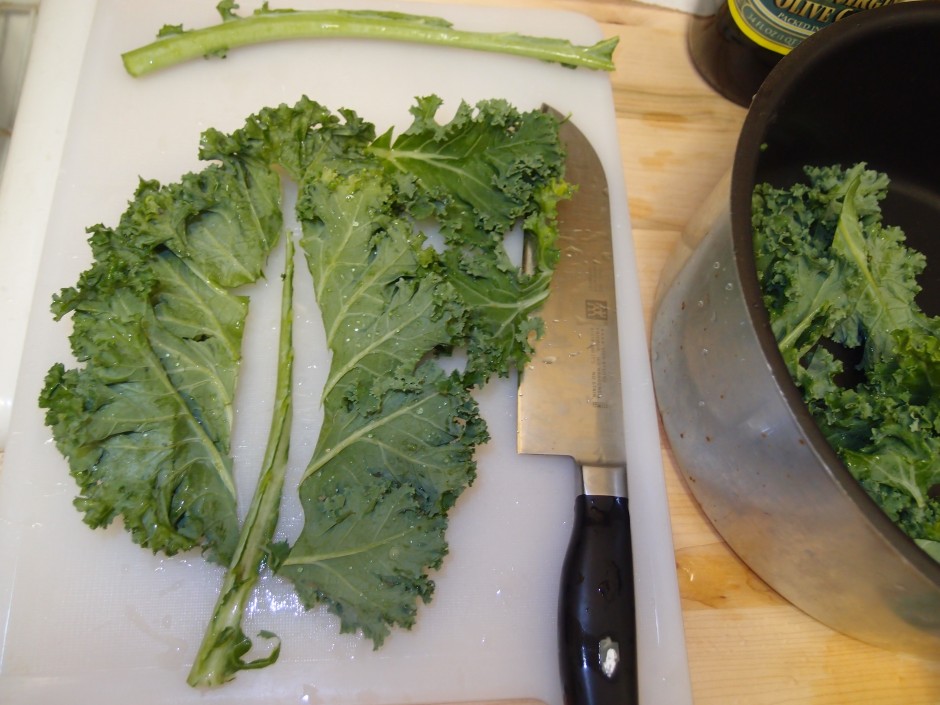
- Tear into bite-sized pieces
- Rinse, and spin to remove excess water


The Oil
For oil, I use canola because it’s lighter, and yes, from a spray can. Many people like to use olive oil which I don’t prefer because it is heavier. Being heavier, it tends to trap the moisture from the leaf (remember, you’re essentially dehydrating the leaves) which makes it soggy, and as soon as the olive oil comes to temperature the leaf burns. Canola is light enough to allow the moisture bake off at a nice rate. Also, it keeps the texture light and allows me to season it accordingly. I used to drizzle the oil, but now I get it in a can simply because it is less effort, less cleanup, and coats the kale much more evenly than I could with a brush or some other drizzling / tossing method. If you don’t like aerosols, you can also get one of these and pump / spray your own: Misto Brushed Aluminum Olive Oil Sprayer
It works pretty well, just remember to follow the after-use instructions and let the air pressure out and clean the nozzle after each use.
The Recipe
Once you have that sorted, this is probably one of the easiest recipes you’ll find on this site. Here it goes:
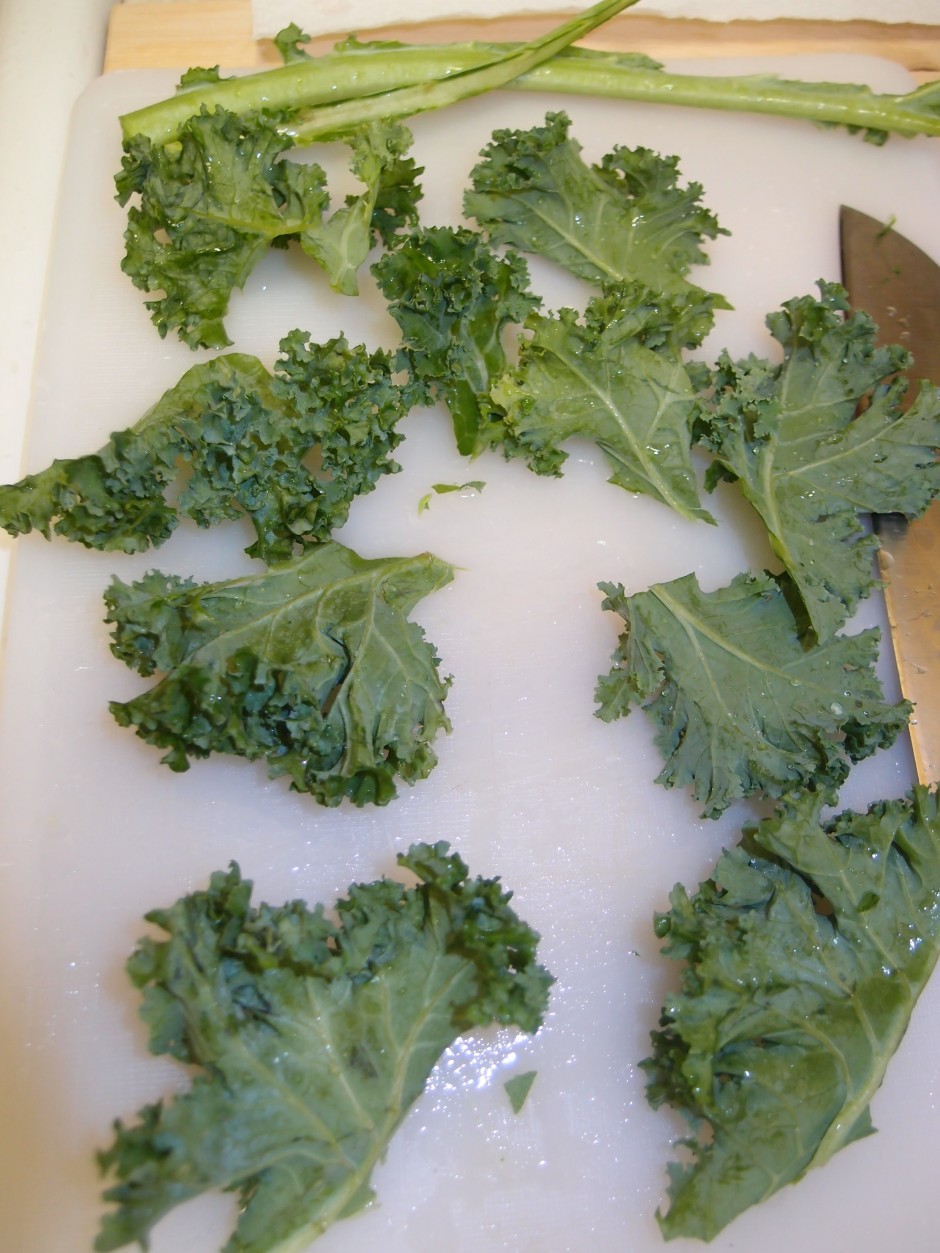
- Wash and spin (highly recommended to remove excess water) your kale
- Preheat the oven to 300oF
- Spray both sides of prepared kale leaves (de-stemmed if necessary) with canola oil
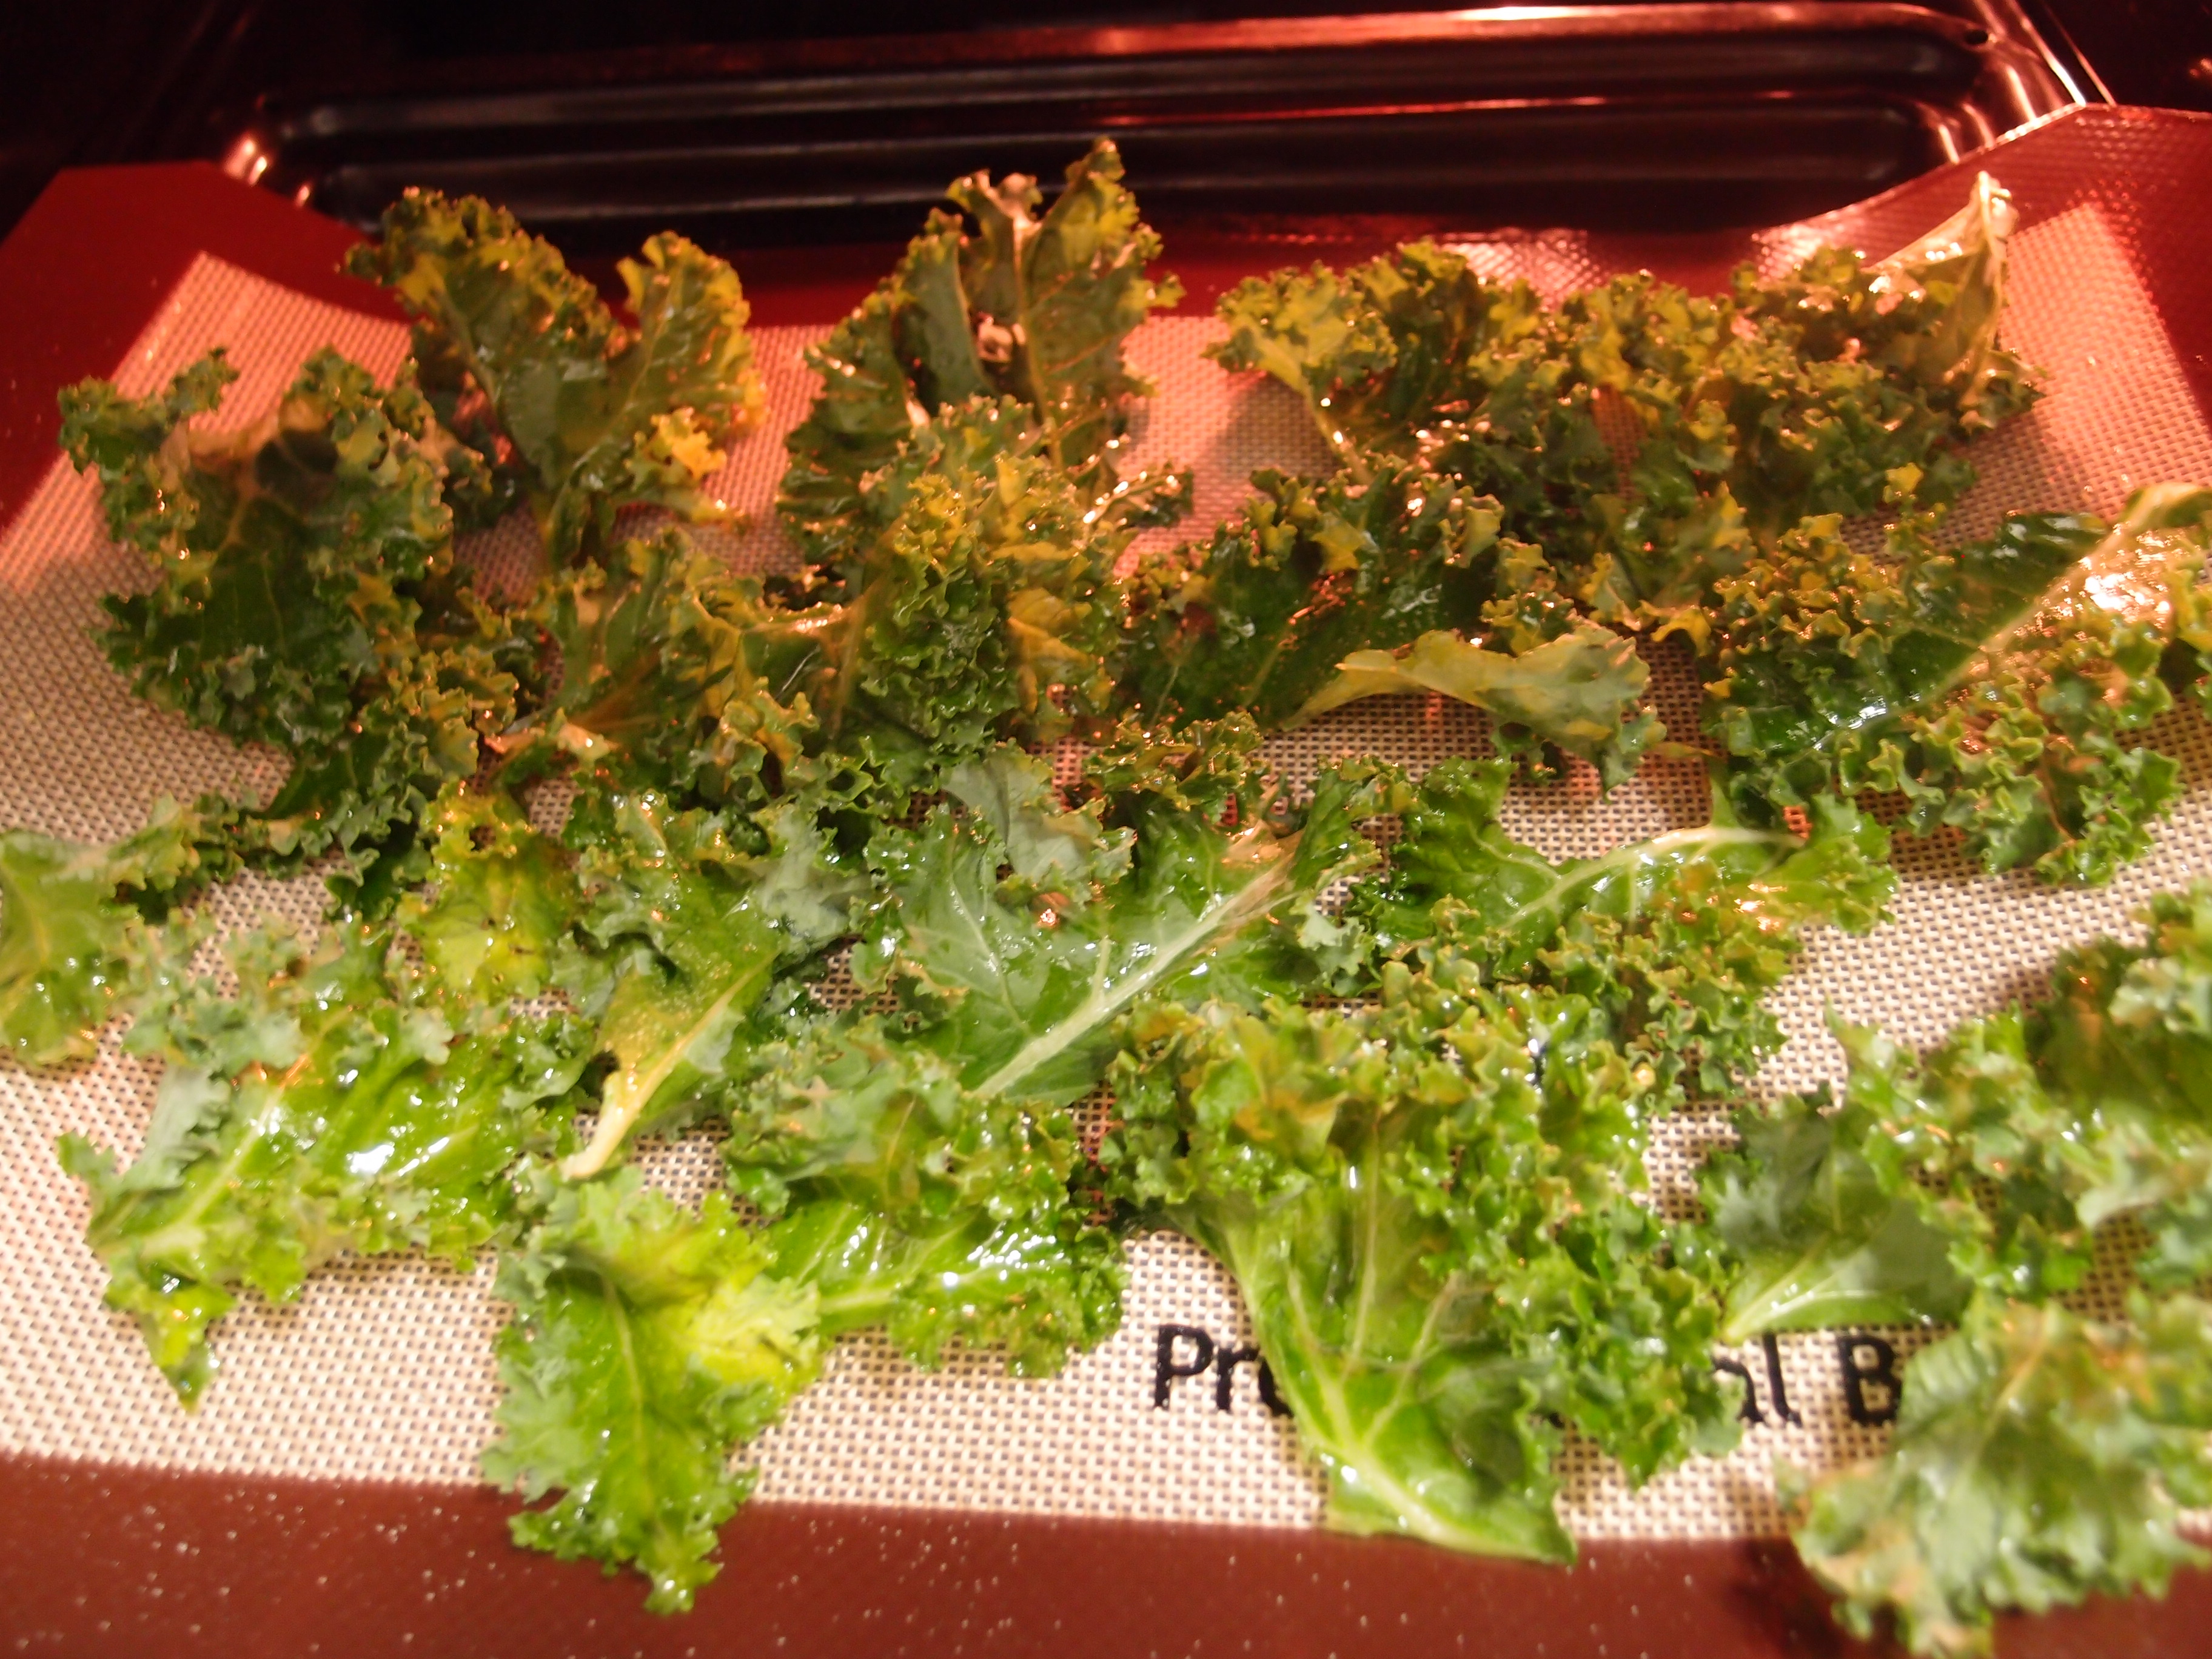
- Arrange on a tray single layer (I use a silicon baking sheet) – slightly touching is ok since they will shrink significantly.

- Bake for 20 mins
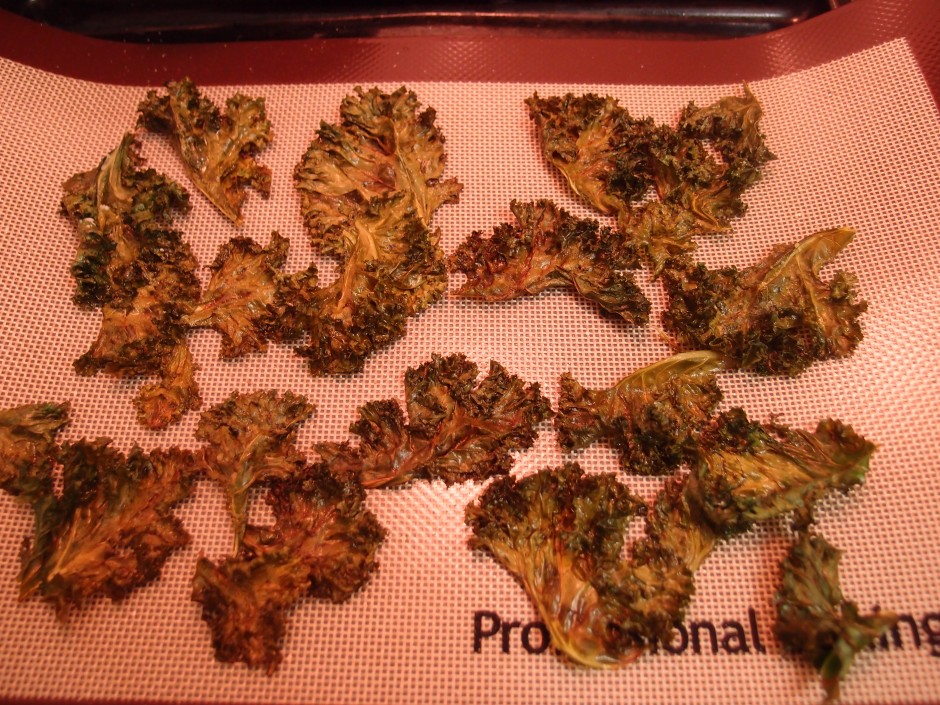
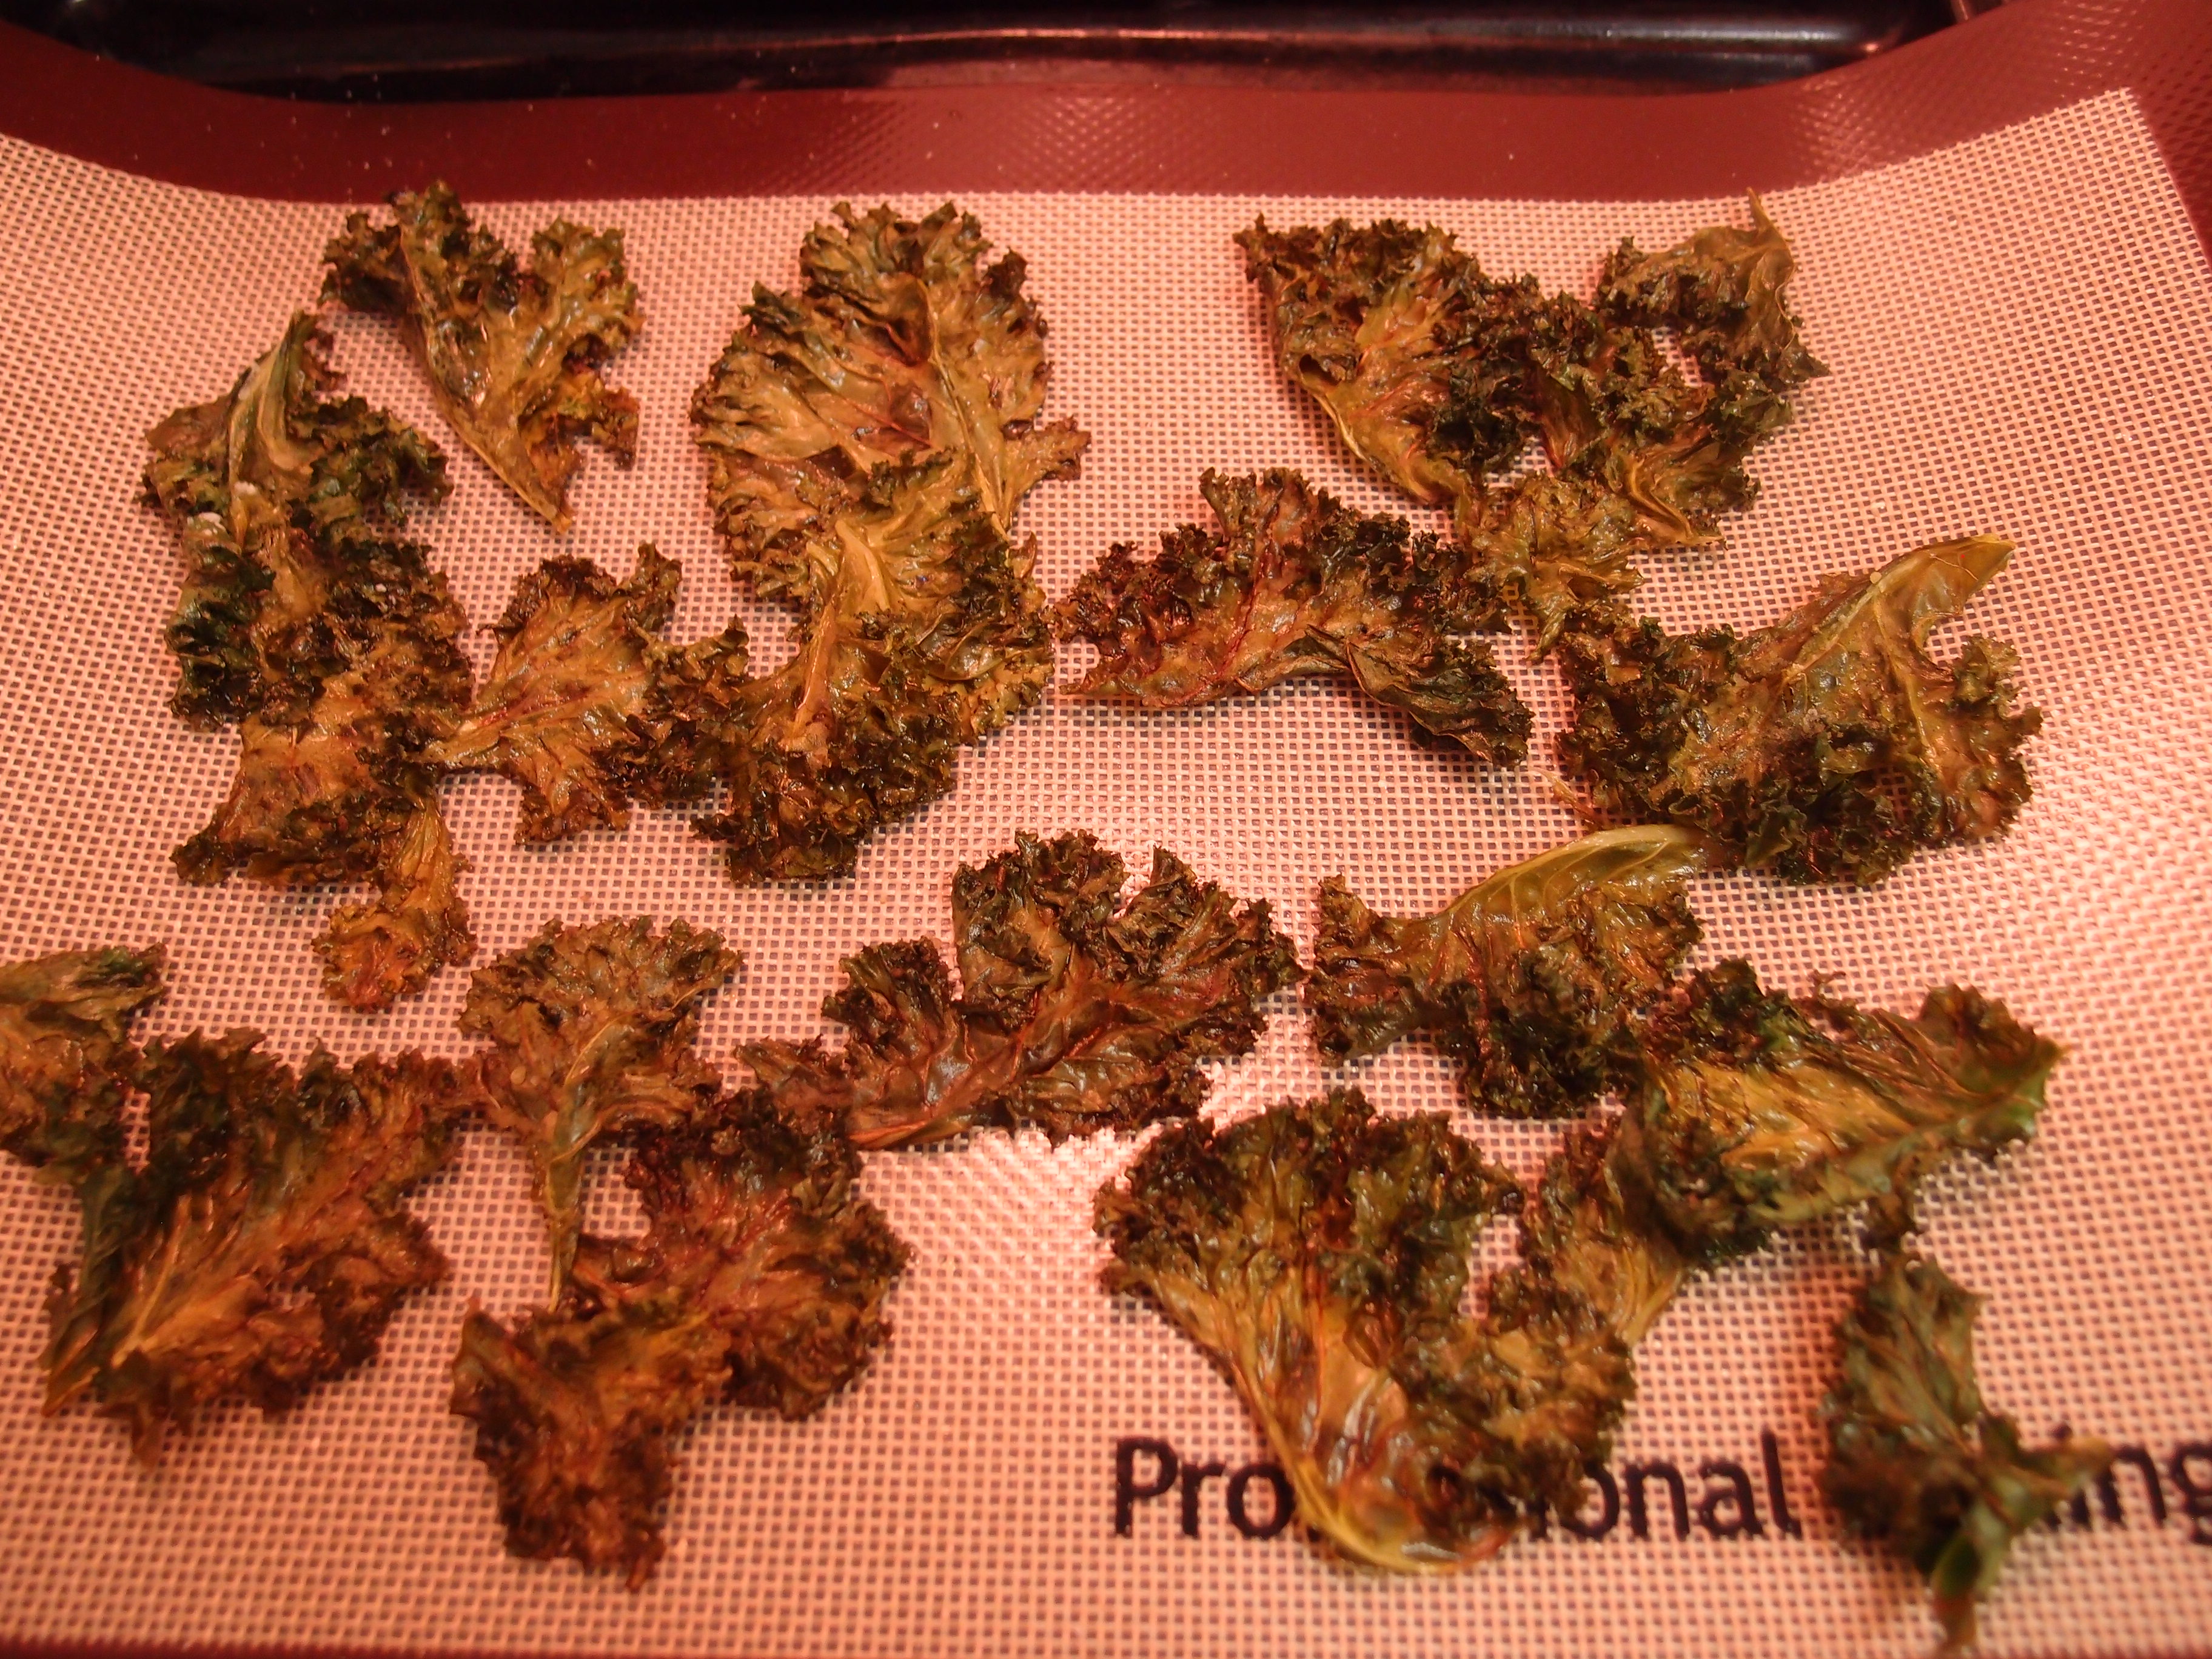
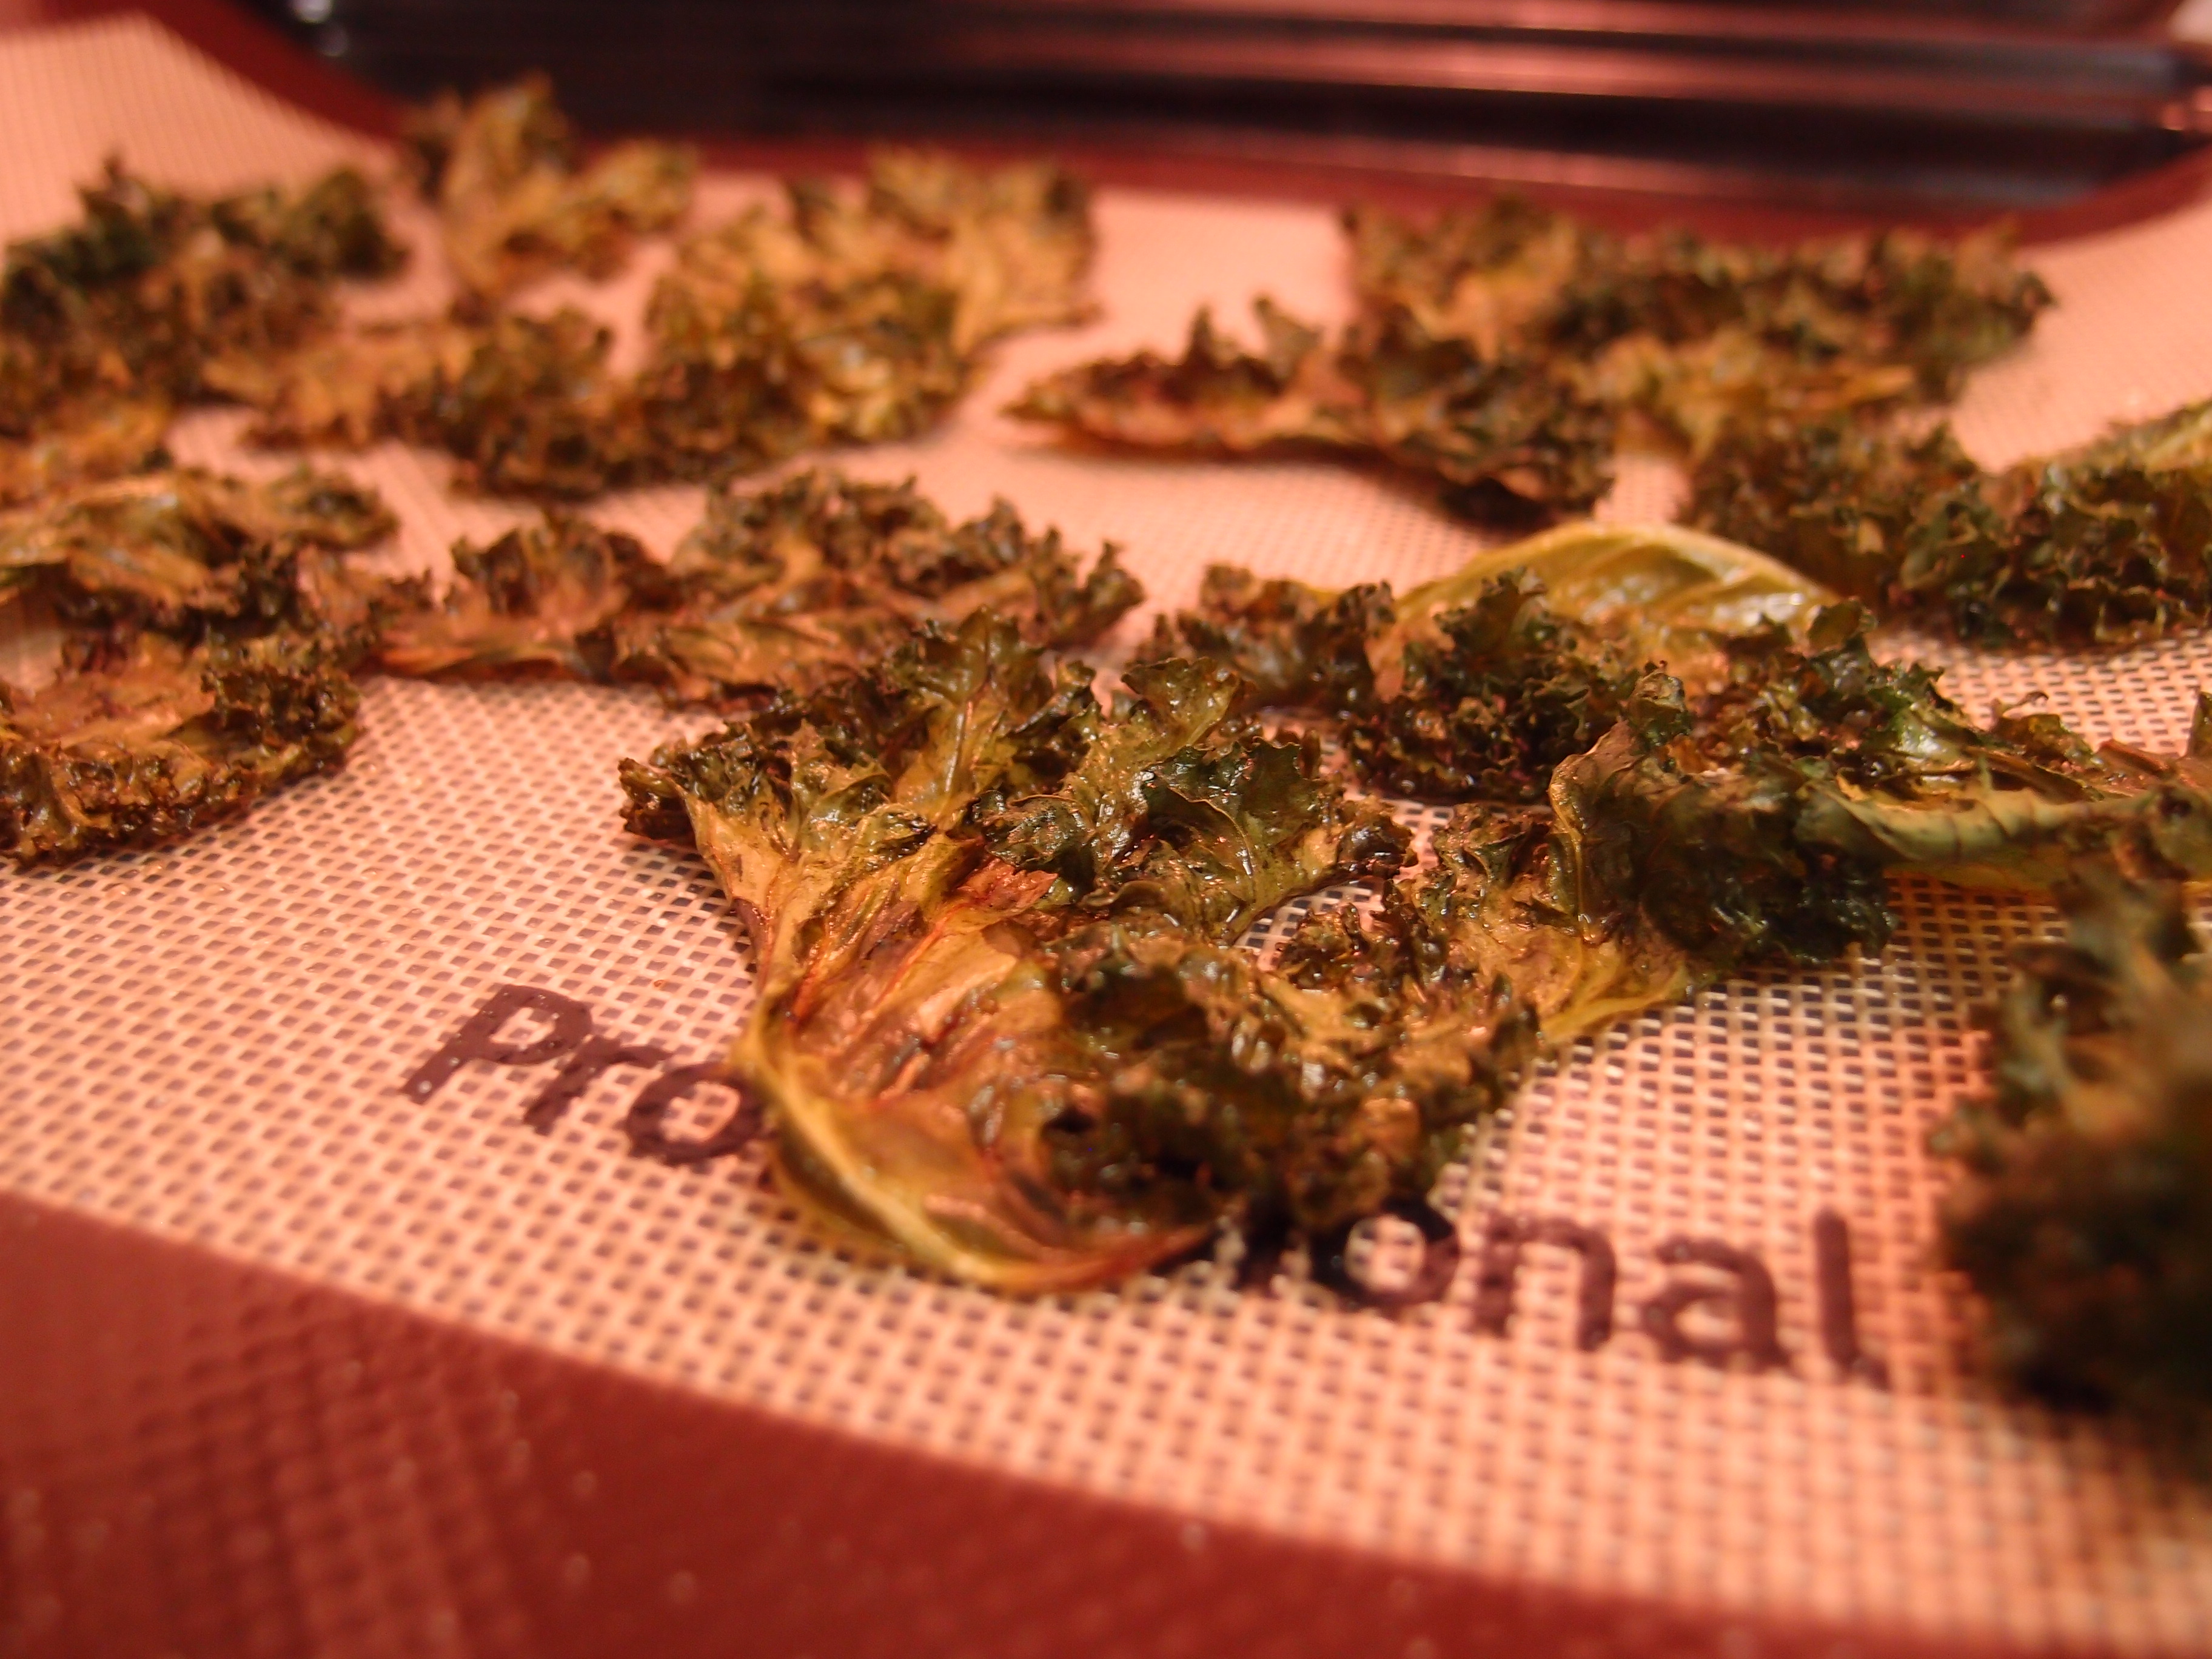
- You’ll know they’re done when they have this coloring / texture:

- Remove from oven, wait for a minute, then salt, season, and flavor to taste
I find the low-and-slow method works best to ensure nice browning and even crisping, instead of the hot-and-fast method which reduces your margin of error, and increases the risk of burning your batch or uneven cooking.
Also, note that I salt and flavor after. There are two reasons for this:
- Salting prior causes a process called purging (covered in another article later), which draws the water out of the leaf dehydrating it by way of osmosis (good), but causes it to collect on the surface (bad) which in turn makes it soggy and the leaf wilts
- Seasoning prior, depending on the seasoning, can also burn on the kale causing your chips to come out bitter.
You can use any seasoning you have in your cupboard. I’m a fan of garlic powder, onion powder, maybe a dash of paprika sometimes, or cayenne to give it a little extra kick. I’ve even seen some people use sesame seeds which seems quite delicious.
Side Recipe: Spicy Kick-in-your-Pants Version
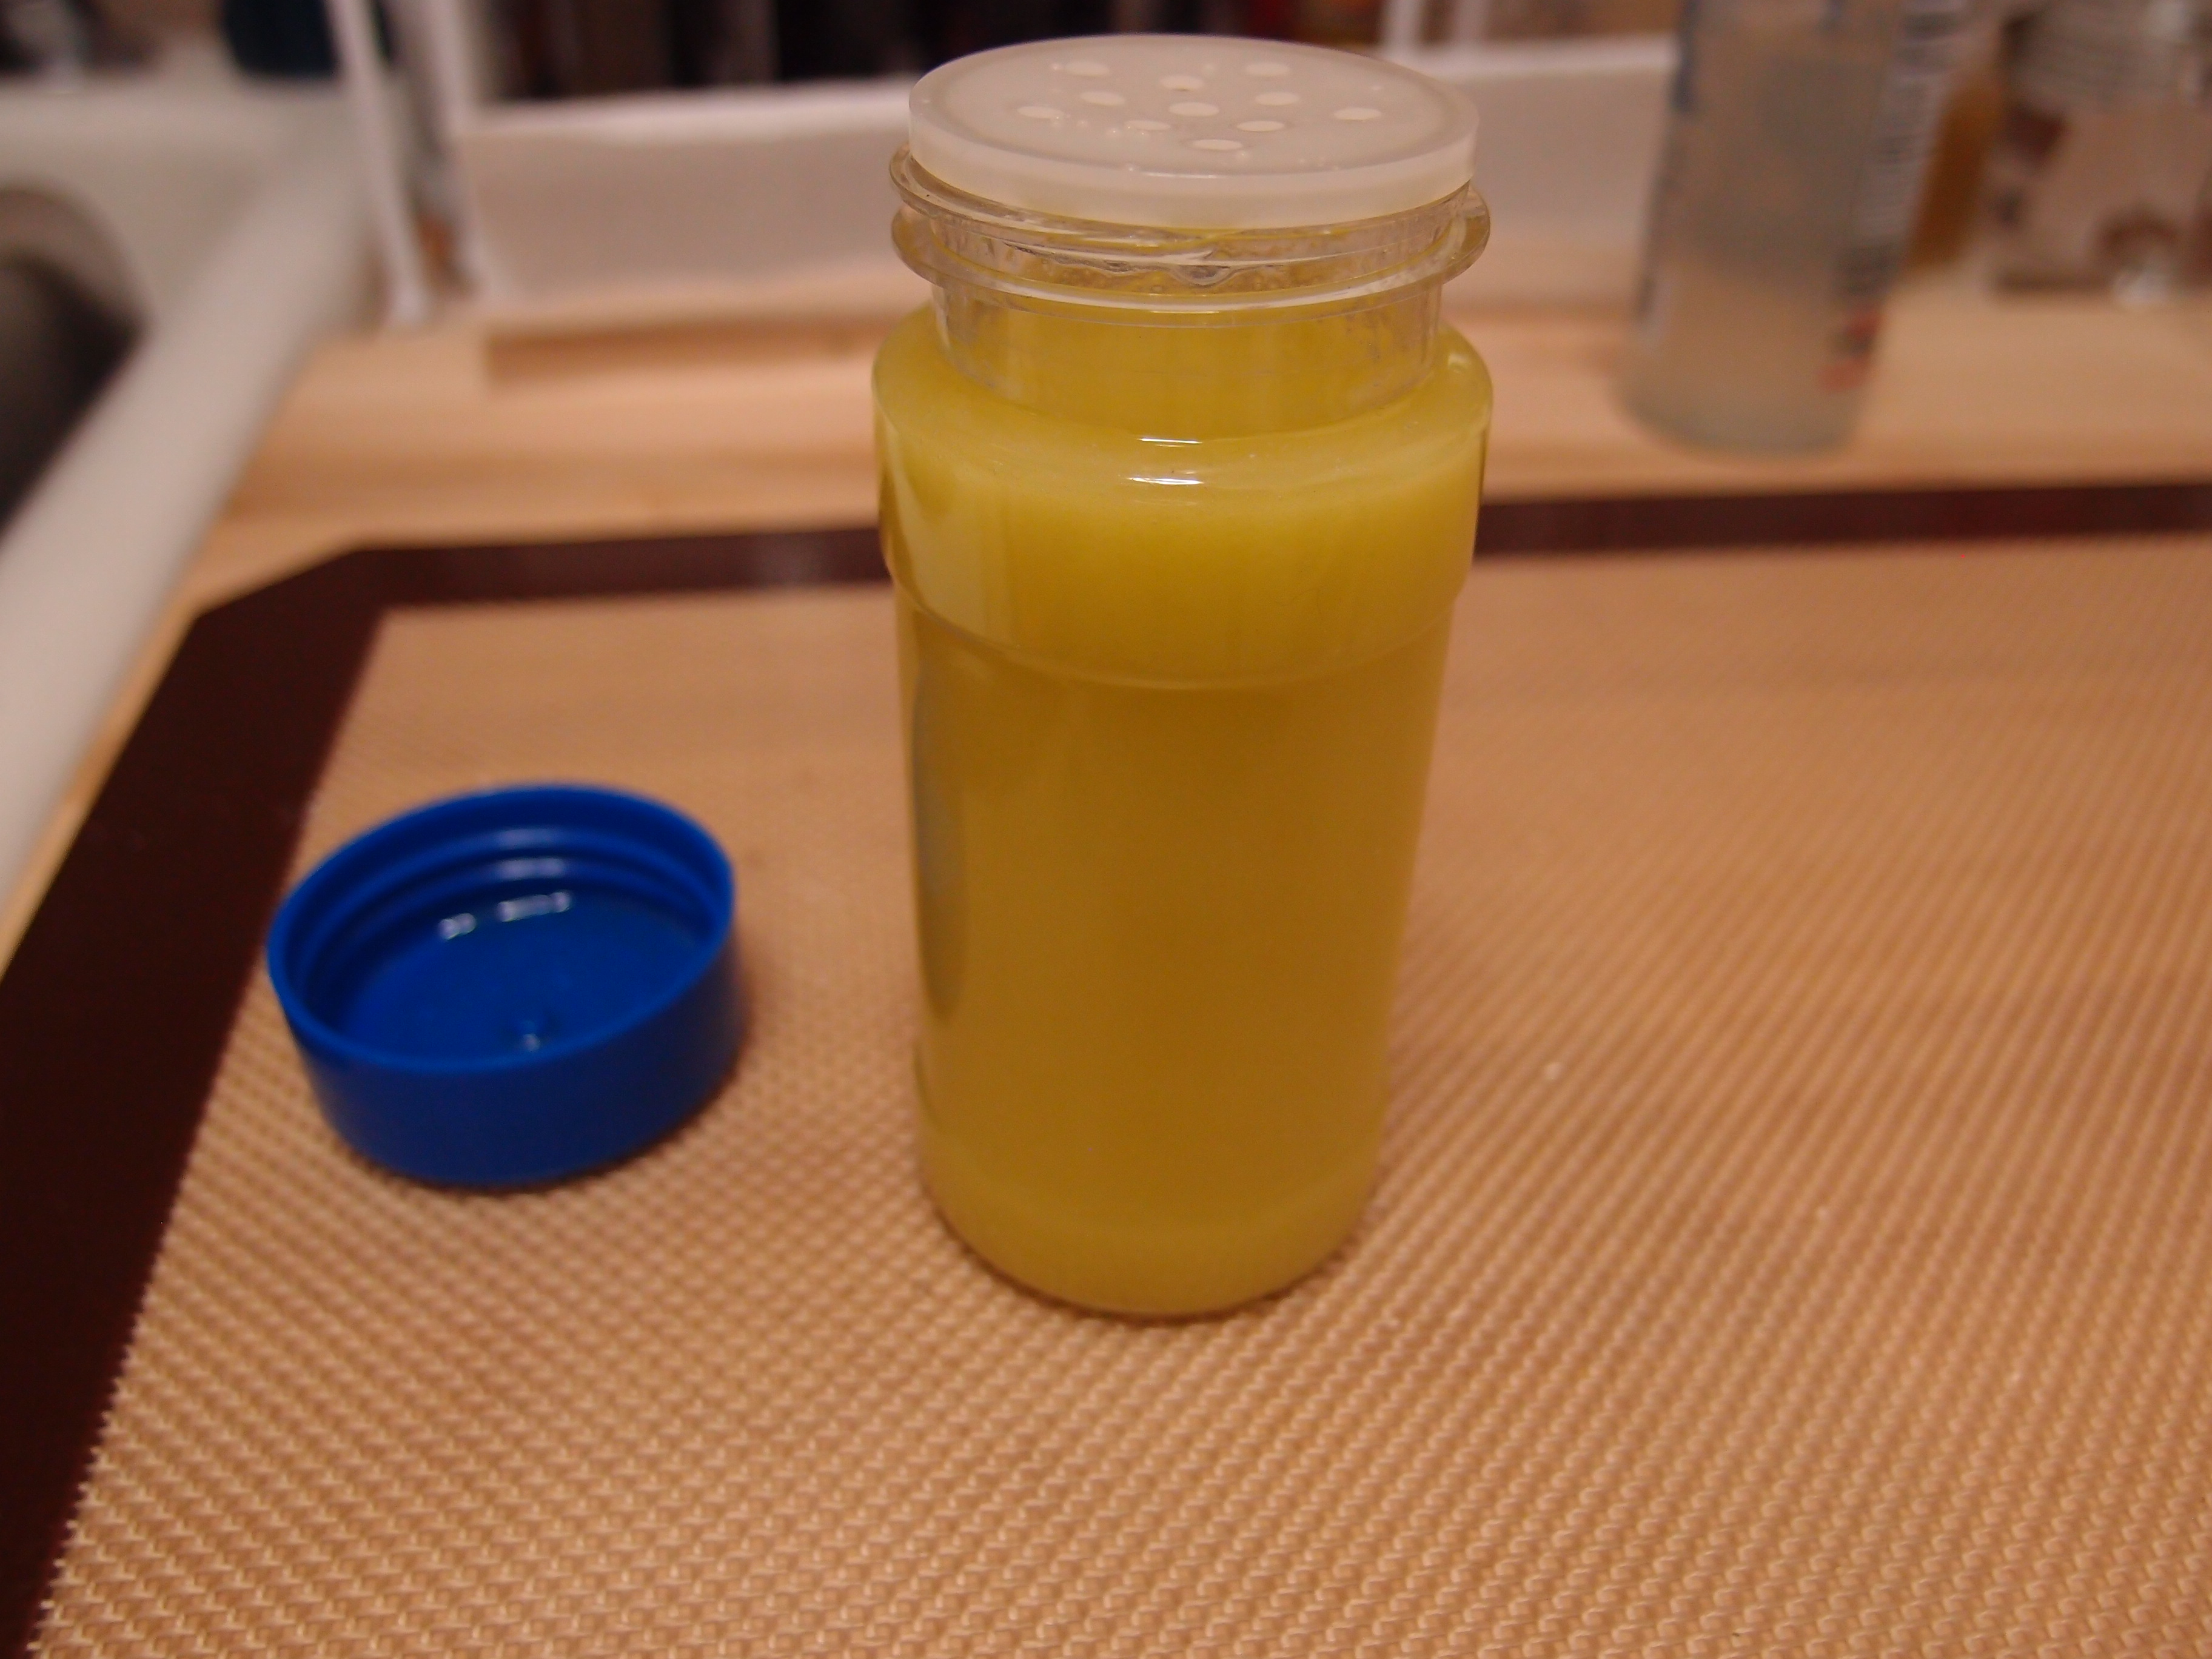
If you like spice and heat as much as I do, one alteration you can make is substituting regular canola oil for an extra spicy mix. It’s simple, really. All I did, was take my oil, mix in some hot sauce, specifically: Frostbite Hot Sauce by CaJohns. You can see what the bottle looks like to the right. The time I made this batch, I was still experimenting with Olive Oil, which worked out decently well but the chips still came out a little soggy. Next time I plan to try this with canola oil.
I used 1 part Frostbite, and 4 parts oil for this. Shake very well and sprayed / drizzled it on as I would normally. A picture of my little batch of this sauce below. It tastes awesome – to say the least.
And the obligatory glamor shot:

So as you can see, even though this is an extremely simple recipe, a lot of thought can go into making the perfect batch. Once you get it down though, you’ll be cranking these out by the tray full but guaranteed, you won’t be able to keep up with the demand.
One thing to note, is that these will not have the same thick texture as the store-bought brands because they actually coat their kale in flour or cornstarch prior to baking. Not so healthy, and not much point in my opinion. And that’s it!
Enjoy the healthy snacking!
