My seedlings are now out in the world.

Expectations and reality
As usual, reality and expectations differ. I hadn’t realized transplanting seedlings would require more thought than I gave it. I hadn’t realized my hands would be so taxed by putting together an irrigation system. I also hadn’t realized my gardening would involve so much waiting (more on this in a later post).
Still, it’s been very rewarding to have gardened this second year. My plants seem healthy. I’ve learned more about working with AC circuits, power tools, and additional accessories (the latter two especially necessary as “Dad”). Most of all, my daughter loves helping me tend the plants.
Anyway, I have a long list of notes to myself for next year’s garden. The most useful information I’ll keep condensing and posting to the blog.
Transplanting
Having germinated my seeds and tended to my seedlings, the next step was to get them into their permanent homes, i.e. the containers on my patio.
I made a big mistake. Life outdoors is much tougher than life indoors for plants. It’s windier, more variable in temperature, and more extreme in precipitation. Seedlings in a tray need time to get ready for the outdoors.
The acclimation process is called “hardening off” by gardeners. Basically it’s a gradual introduction of the plant to its new habitat. So on day 1 you’ll leave the plant outside for an hour or two. On day 2, a few more hours after that. And so on until the exposure time is a full 24 hours.
I skimped on the hardening off process, limiting it to three days. I may have made the better of two mediocre choices. My seedlings seemed to have overgrown the tray I set up to the point of competing with each other for resources. Next year I’ll map out in much more detail my transplanting schedule.
Before I show the consequences, let me get to the transplanting process itself. It was easy. Dig a hole of suitable size for the plant (per a reputable gardening guide), gently scoop out the plant from the tray with a plastic spoon (or other suitable implement), place the plant in its new container, and fill in the hole with potting soil as necessary. Some guides suggest limiting a transplant’s exposure to light in the first few days. I haven’t looked into this deeply. And it wouldn’t have made a difference in my garden this year because I don’t have the space to set it up.
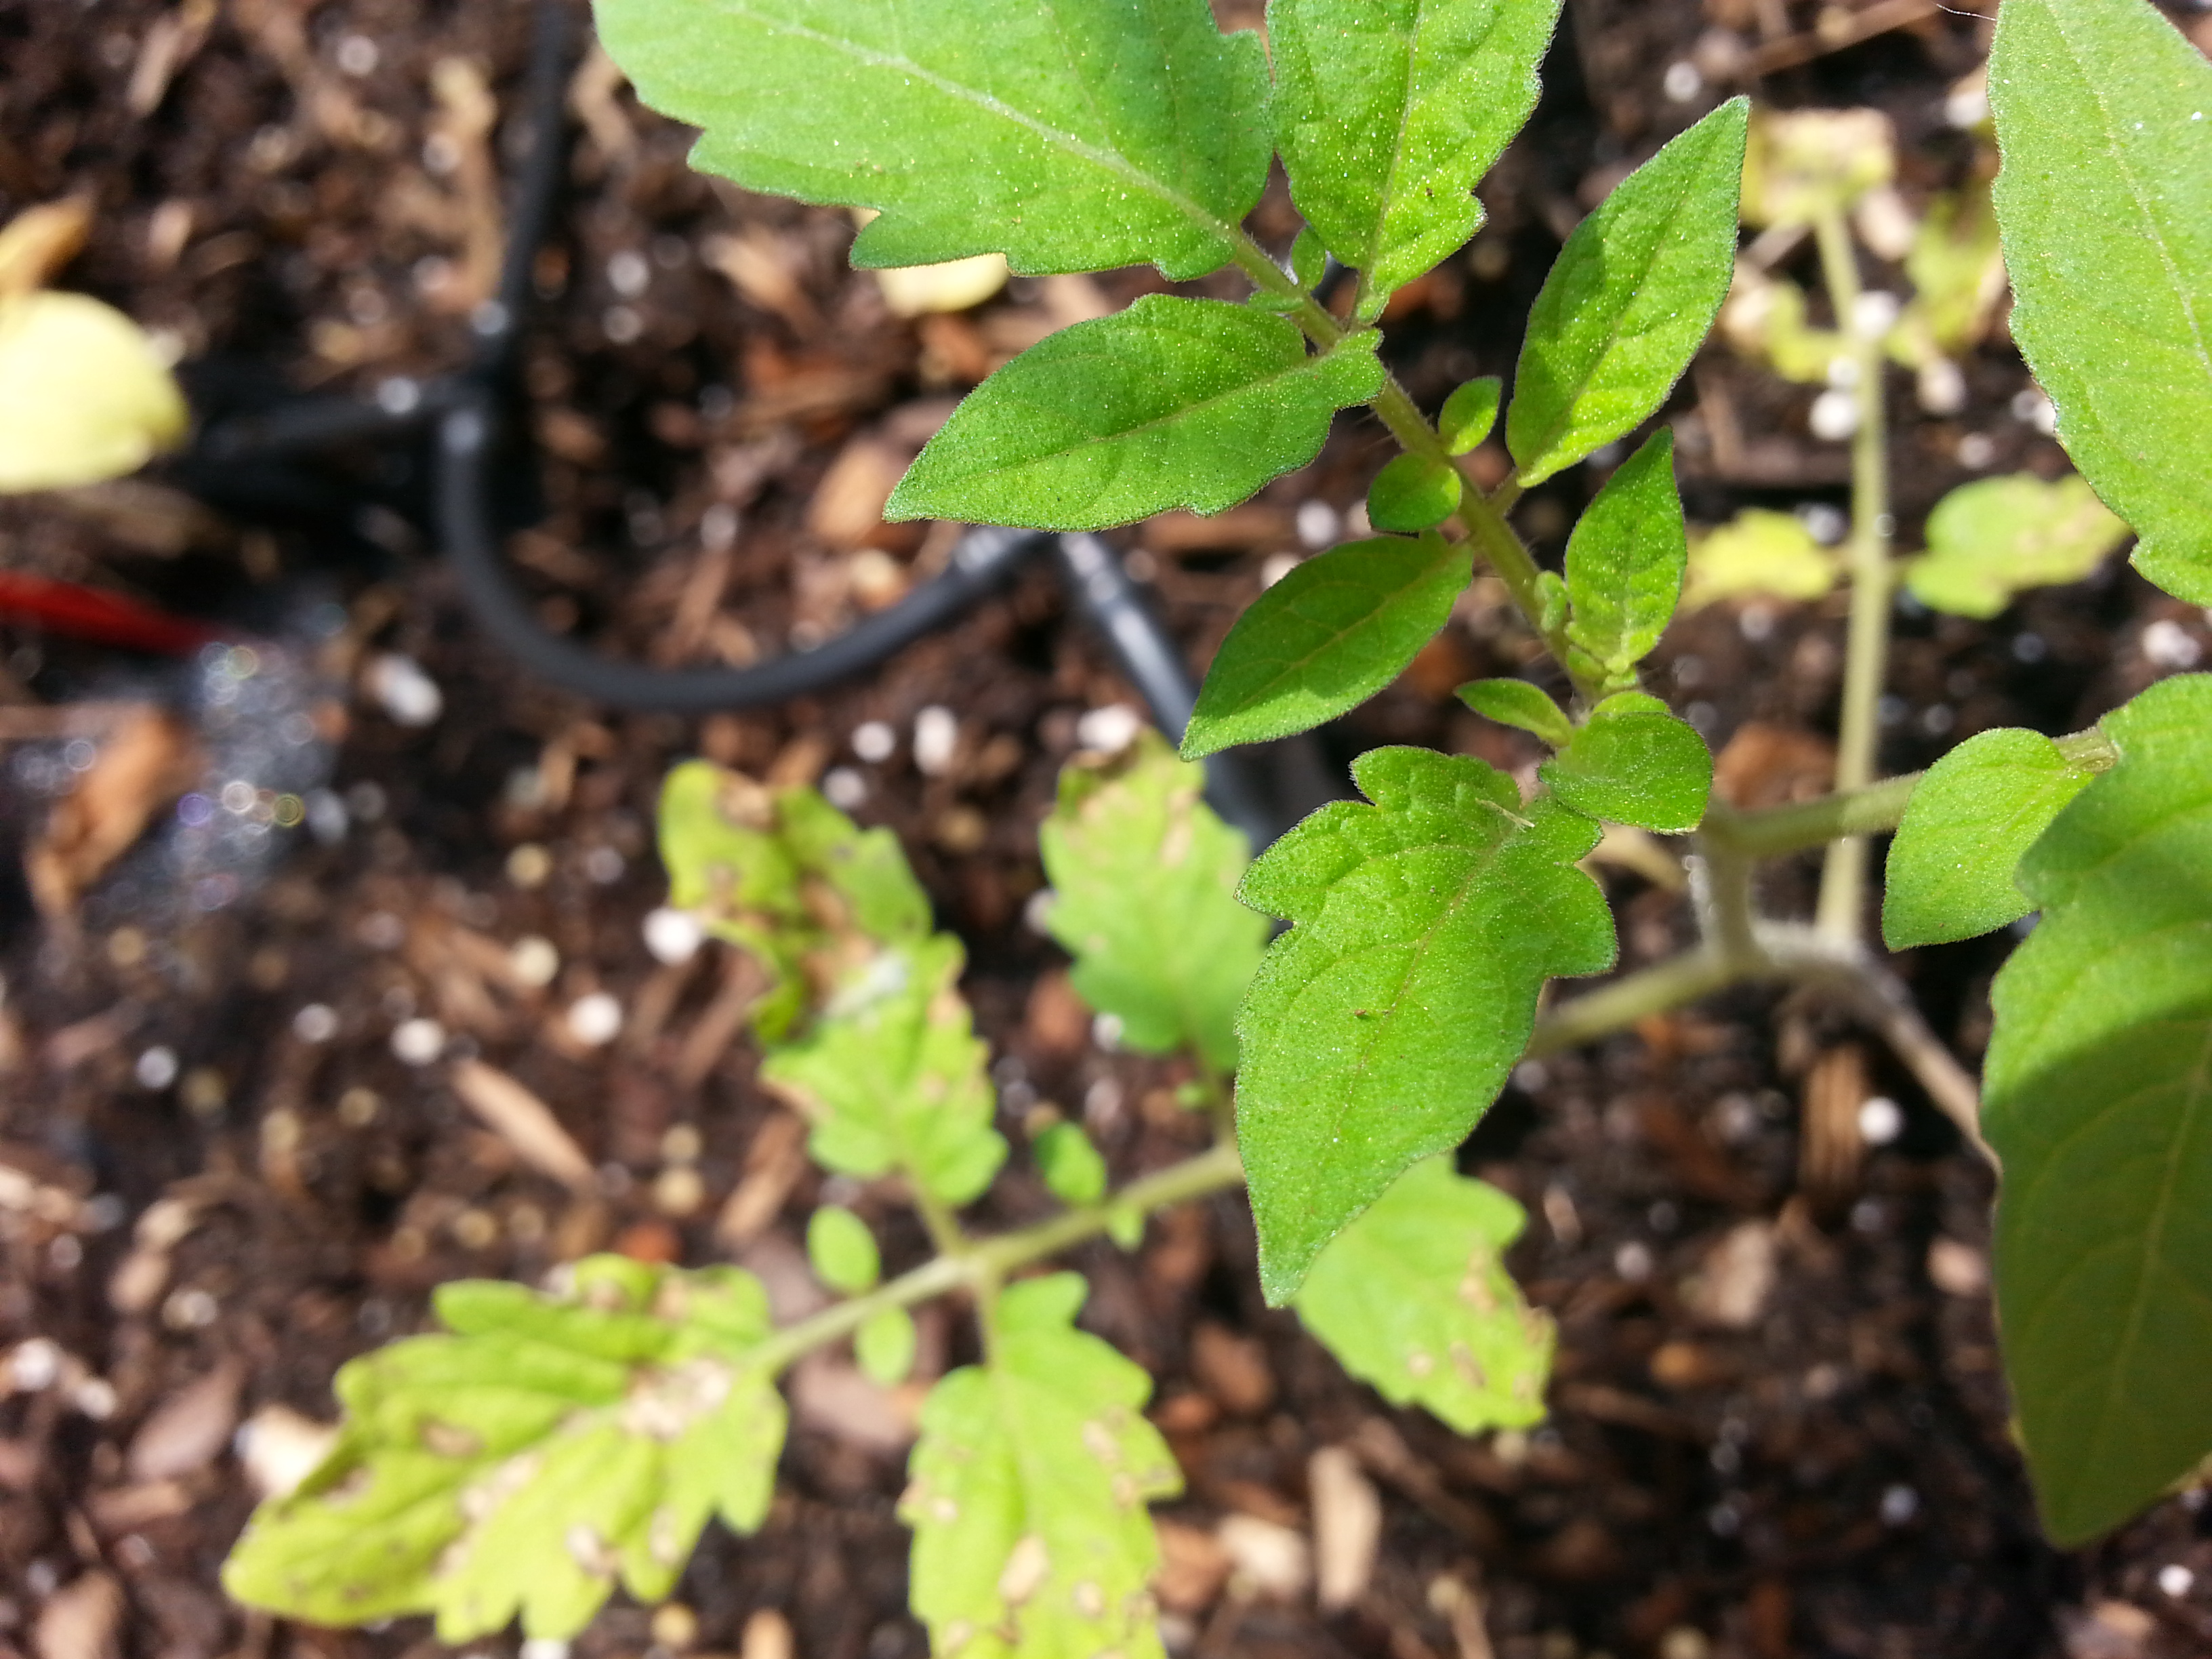
My choice to skimp on hardening off was rewarded by a few days of heavy thunderstorms, an outcome among the worst-case scenarios. The plants got absolutely hammered by heavy rain. At the end of the week, the leaves were spotted brown in some places. The leaves were damaged, meaning — I think — that resources would be diverted to healing and the total amount of photosynthesis would decrease. I’m not sure what effect this will have on my harvest later this year. I assume there will be some substantive loss because the plants are young; the damage should compound. But at least it wasn’t a bacterial or fungal infection, many of which doom the plant. Below is the only decent shot I have on my phone, new growth in the front and damaged older growth in the back:
Still the plants are resilient. Soon after I found the brown spots, new growth had started. I’m pretty sure the long-release fertilizer I mixed into the potting medium and the regular watering helped. More on the watering, below.
Irrigation
There are three reasons to set up a drip irrigation system, as opposed to doing it by hand. First, it makes watering plants more convenient. Second, it helps water plants in the right amounts. Third, it is much more efficient than conventional watering methods.
The first point I get to below. On the second, here’s a simple example. Basil — at least the forms I’m aware of — is native to relatively dry climates. Basil plants don’t need much water to thrive and, in fact, is much more flavorful with sparse watering. Tomatoes, on the other hand, are thirsty. They require much more water than basil plants. An irrigation system can have these varying requirements hard-wired into the system so that the gardener doesn’t have to make the judgment calls every day. Finally, drip irrigation is efficient since water is added to places in which the roots are most likely to be (or encouraged to be) and at a slow enough rate such that run-off from the container is minimized.
Google identifies many great resources for drip irrigation. I’ll cover the basics here and detail my build in a later post. A basic (bucket) drip irrigation system has only a few parts: a large bucket to fill, an irrigation line, and drip emitters. The bucket is the repository I’ve described above. The line carries the water to the buckets. The emitters are like plant-specific spigots that pour out the water from the bucket and carried by the line to a specific area, typically around the base of the plant. Here’s a close-up of an emitter dripping water near a tomato plant.

I can definitely say that the several hours and surprisingly low (at least to me) components cost were well worth it. Instead of repeatedly filling up and emptying a smaller watering can from the 5-gallon, I only have to fill the irrigation bucket once. The plants, at least, seem to like it.
